
Fermentation may be the oldest method for preserving food. It adds intense and complex flavors to whatever is fermented. Fermentation is used in creating many modern foods such as yogurt, bread, sauerkraut, kimchee, pickles, salami, beer, wine, cider–even chocolate and coffee. It is called lacto-fermentation because it is species of lactobacillus bacteria that created the ferment. Lactobacillus is what makes sauerkraut, kimchee, pickles, sour beers and yogurt.
Making lacto-fermented vegetables is fun and easy. Beginners may want to use 1 quart jars to make small batches for experimentation. Wide mouth Mason jars are best as it is easier to pack the vegetables down in them.
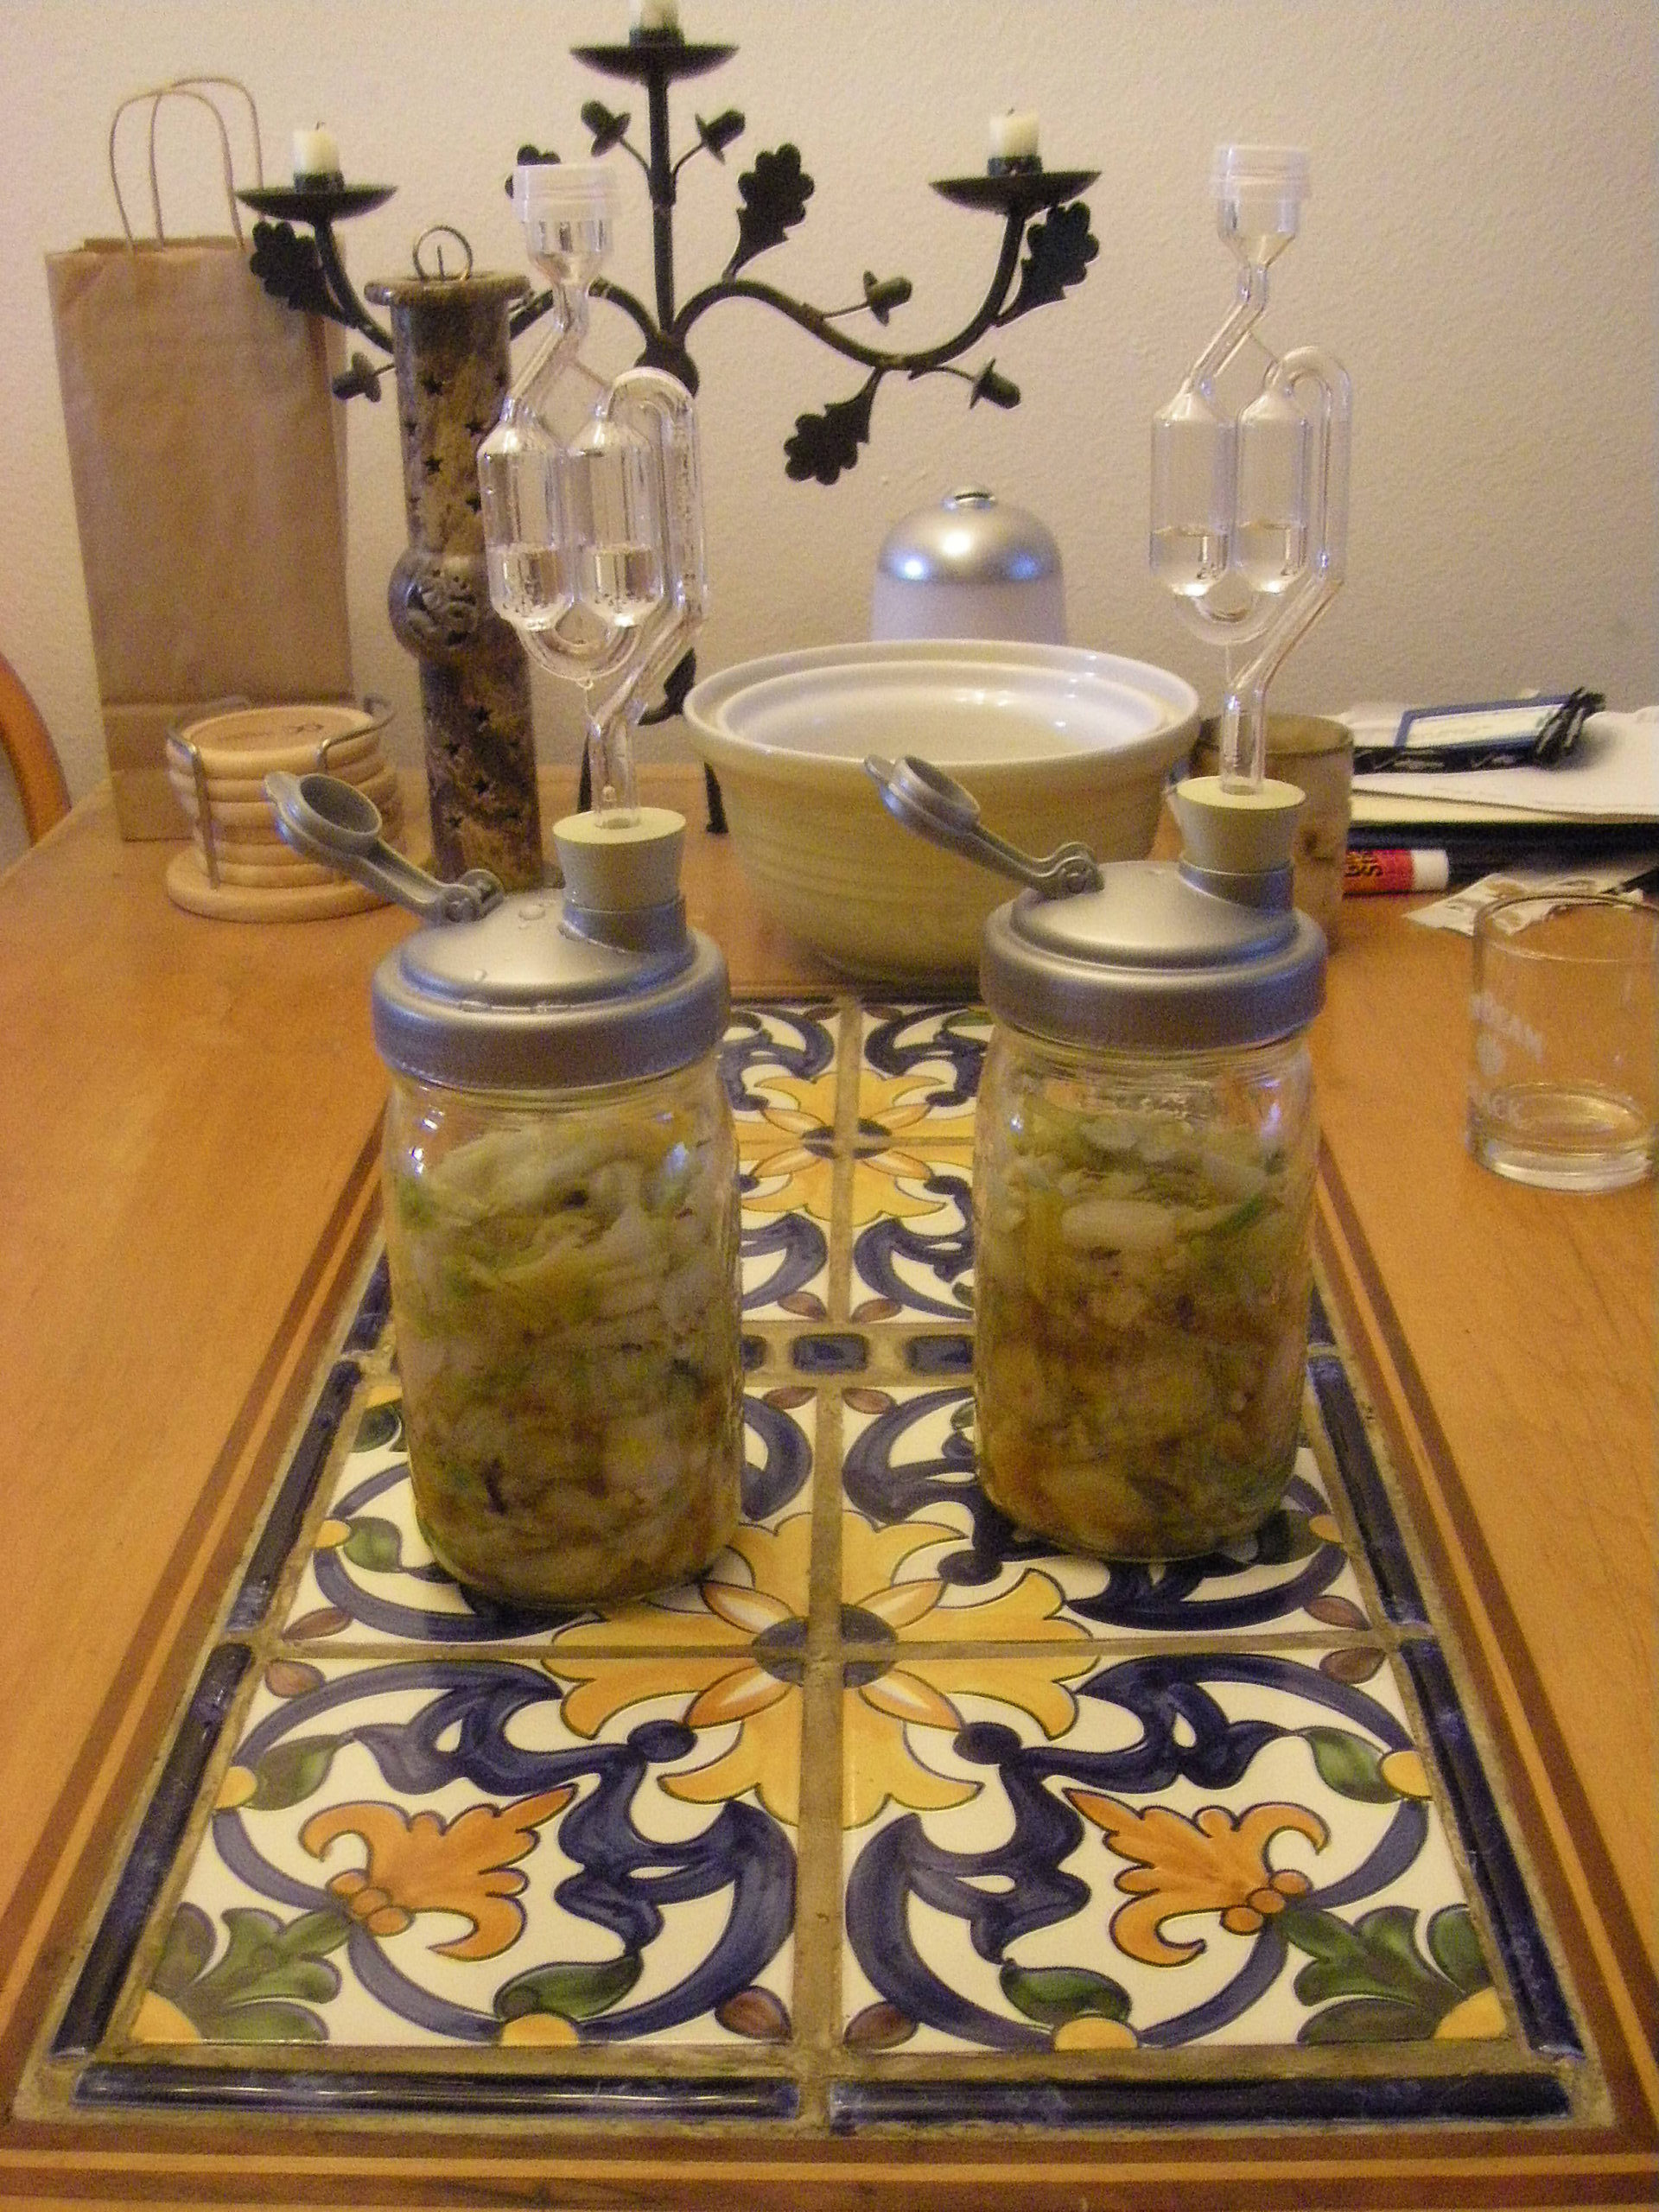
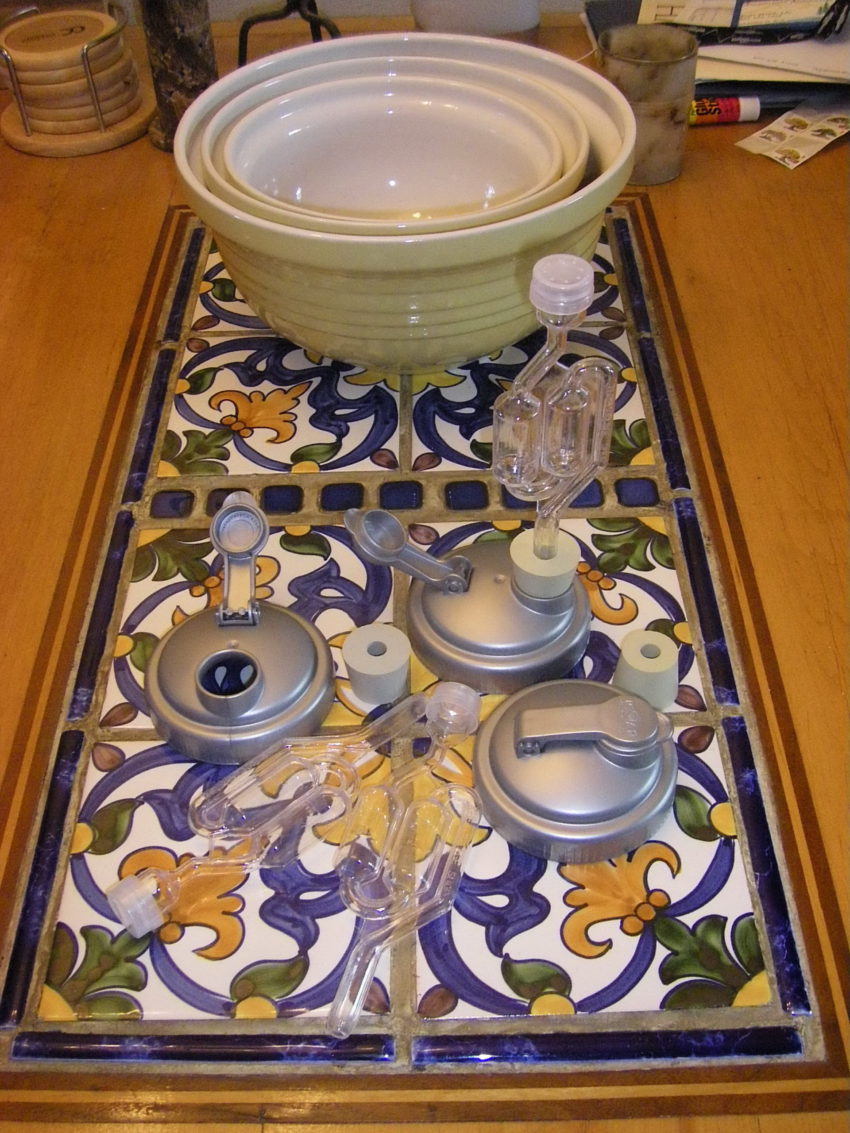
Wash jars in hot, soapy water before getting started. They don’t need to be sterile. After all, you want to take advantage of some good bacteria. Don’t worry, the fermentation process is safe. Lacto-fermentation bacteria keep bad bacteria from growing. In addition to jars, creating fermentation locks make the process more efficient. Although it is possible to ferment your veggies in a jar with just the standard Mason jar lids & rings, it is possible the pressure from the gases can cause the jar to explode! Fermentation locks let the gases from the fermentation process escape, and keep out unwanted bacteria and fungus. I created my own fermentation lids to top my fermentation jars.
I ordered some reCAPS on line at http://www.amazon.com/reCAP-Mason-Jars-Pour-Cap/dp/B009VLQ3QO
and purchased #6 one hole stoppers and fermentation locks at my local home brewer supply where they are cheaper than ordering on-line.
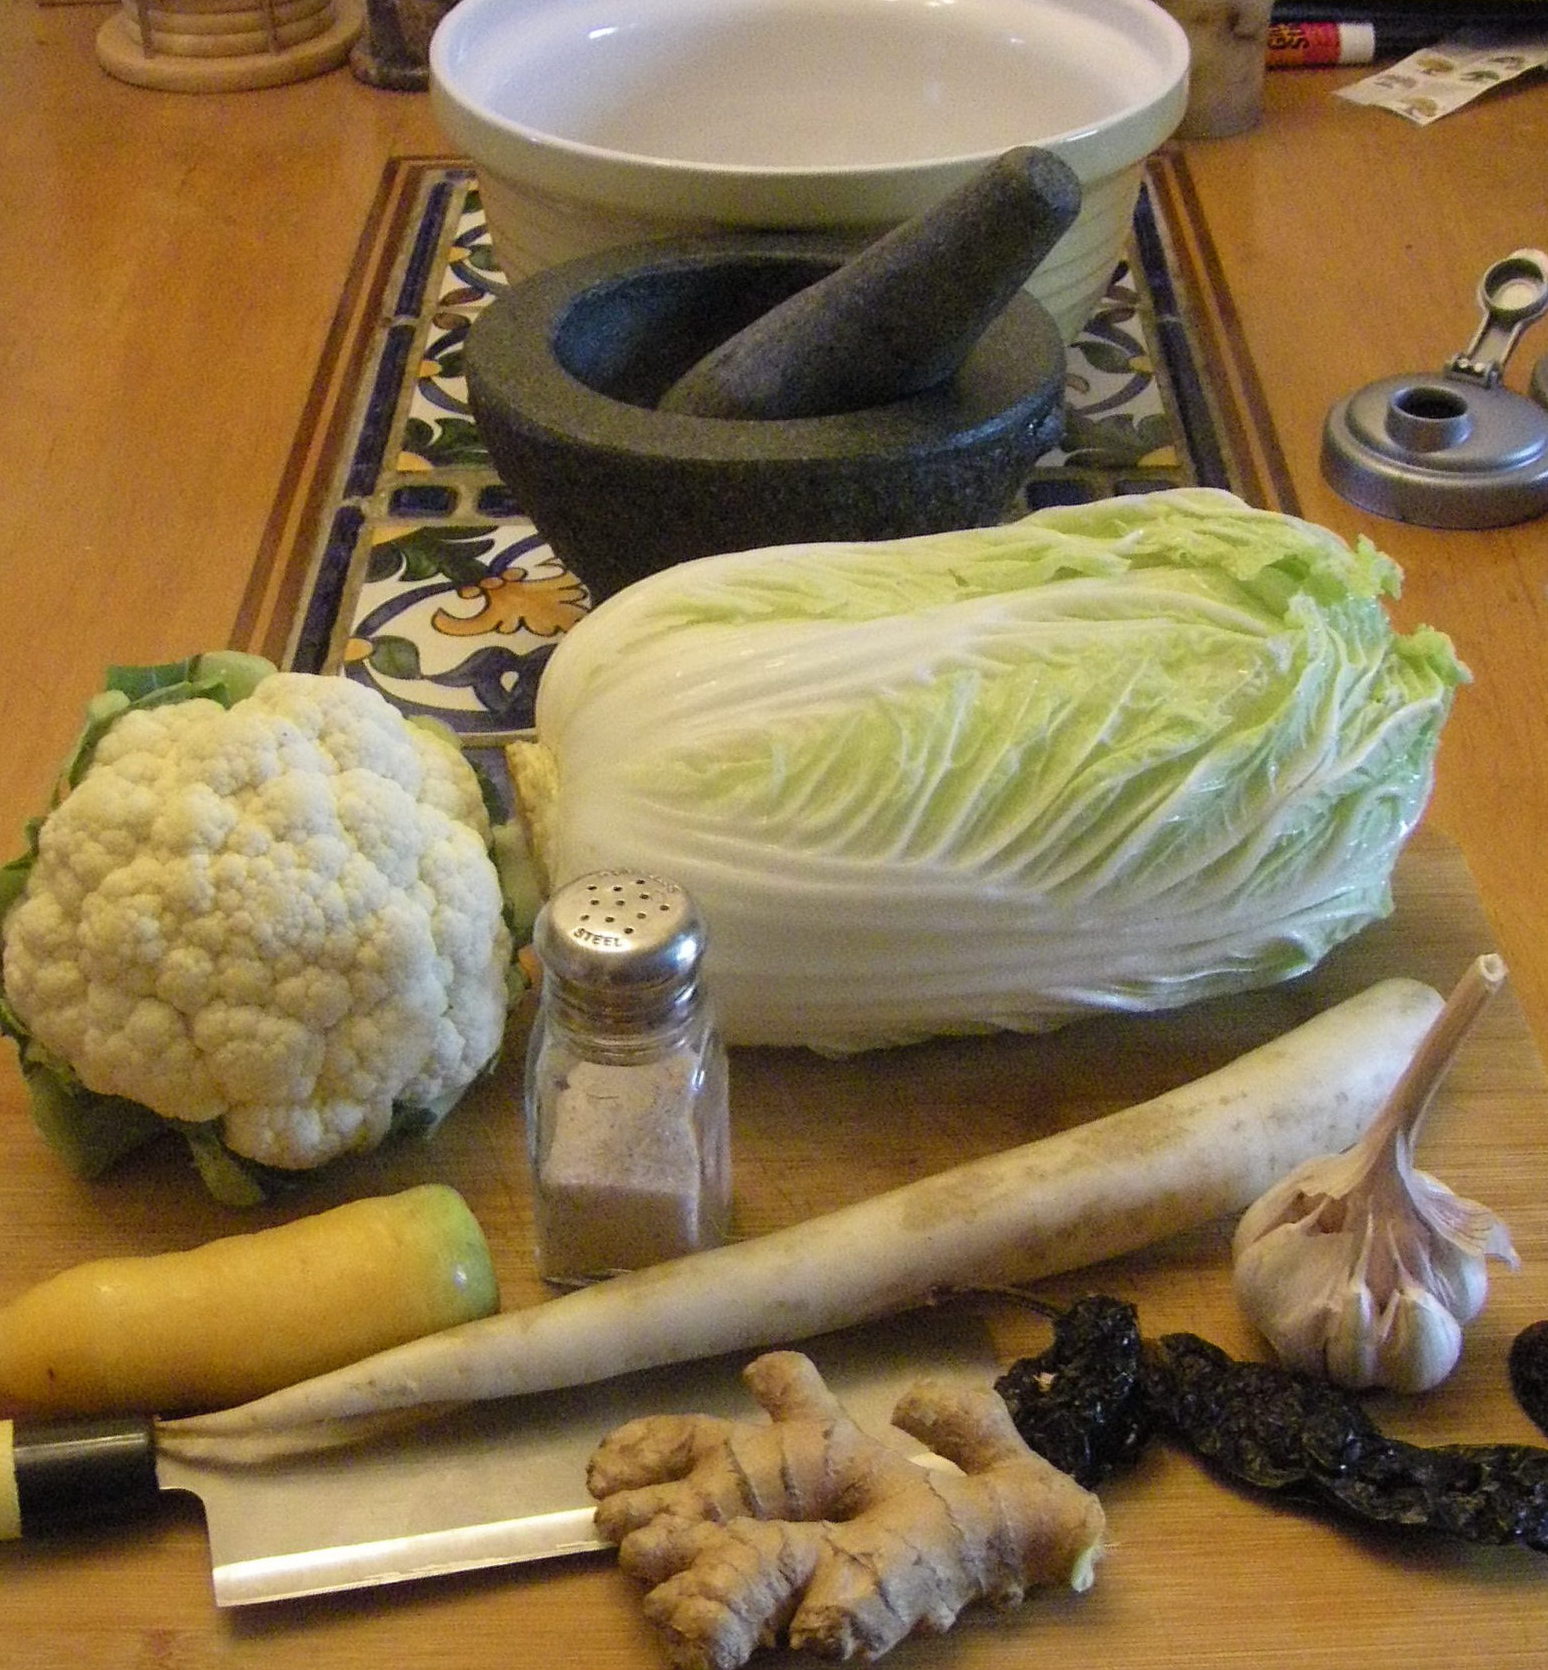
Choose your vegetables. You can ferment pretty much anything and everything: shredded beets, carrots, cabbage, cucumbers, onions, green beans, shredded kale, zucchini, and so on. In this example, I use one head of Napa cabbage, a yellow carrot, half a head of cauliflower, a medium size daikon radish, two or three cloves of crushed garlic, two or three slices of minced ginger root, and a teaspoon of ground chipotle and pasilla peppers. The final ingredient is salt. I used about 1 to 1 ½ tablespoons of sea salt.
The next step is pretty basic.
Chop the vegetables into chunks (leaving out the core of the cabbage), put them all in a large mixing bowl and toss with the salt, garlic, ginger and peppers.
Next, you can gently pound the veggies to release liquid. Some people squeeze the vegetables with their hands. I used a large wooden spoon. The salt will help draw liquid out of the vegetables. When you see lots of liquid forming, you are done with this step.
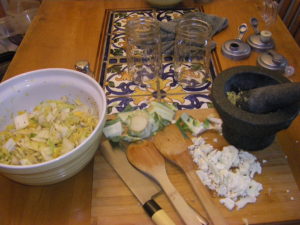
Now add the veggies and liquid to the jar by pressing them firmly down until liquid covers them. You want to keep the veggies packed down so the liquid keeps them covered. Although I used two jars, I probably could have filled just one.
Seal the jar with your fermentation lock. You need to add just a little water to create the “lock”. You should notice some gas bubble up through the lock after a few days.
Set the jars in a warm part of the kitchen or other room. I set my jars at the back of the dining room table near the heat register. It takes about three days for fermentation to begin to work, so after three days, give it a taste. It should be pleasantly tart and not smell too funky. It can take another day or two to be just right.
Refrigerate when it tastes right to you. You can remove the stoppers and locks and use the reCAPS as lids. Experiment with different vegetables and fermentation times to see what works best for you. Enjoy as a side dish or ingredient in salads or rice dishes. You have created your own home made probiotics! Enjoy as a side dish, or add to rice or salads.
For more on fermentation, visit: http://www.wildfermentation.com/